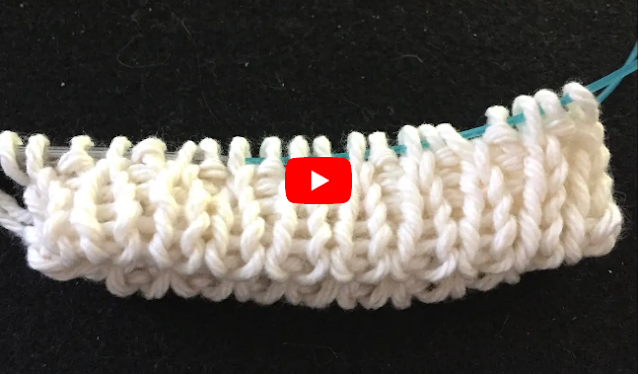
Tubular cast on is a knitting technique that creates a neat, stretchy edge for your projects. This technique is often used for the ribbing at the bottom of sweaters, hats, and socks. In this tutorial, we'll focus on the tubular cast on in the round with 1x1 ribbing.
Before we begin, you'll need to know how to knit and purl stitches. This technique requires a circular needle, which should be a few sizes smaller than the size you'll use for the main part of your project.
Here are the steps for the tubular cast on in the round with 1x1 ribbing:
Step 1: Create a Slip Knot
Make a slip knot and place it on your circular needle.
Step 2: Cast On
Cast on half the number of stitches needed for your project using the long tail cast on method.
Step 3: Knit One Row
Knit one row across all the stitches.
Step 4: Set Up the Stitch Pattern
Begin the stitch pattern by knitting the first stitch. Then, bring the yarn to the front of the work and purl the next stitch. Repeat this pattern across the row, ending with a knit stitch.
Step 5: Work the Foundation Rows
Continue working in the established stitch pattern for a total of four rows. These rows will create a foundation for the ribbing and should be worked flat.
Step 6: Join in the Round
To join in the round, slip the last stitch from your right-hand needle to your left-hand needle. Then, bring the yarn to the back of the work and knit the first stitch from your left-hand needle. This will close the gap and join the work in the round.
Step 7: Work the Ribbing
Now that you've joined in the round, continue working in 1x1 ribbing by knitting the first stitch and purling the next stitch across the round.
Step 8: Finish
Continue working in 1x1 ribbing for the desired length of your project. You can use this cast on method for any project that requires 1x1 ribbing in the round.
The tubular cast on in the round with 1x1 ribbing creates a professional-looking edge that is perfect for projects that require a neat, stretchy finish. With a little practice, you'll be able to master this technique and add it to your knitting arsenal.


0 Comments